Category Archives: Eyes

EVERYTHING YOU need to know about Lash Extensions

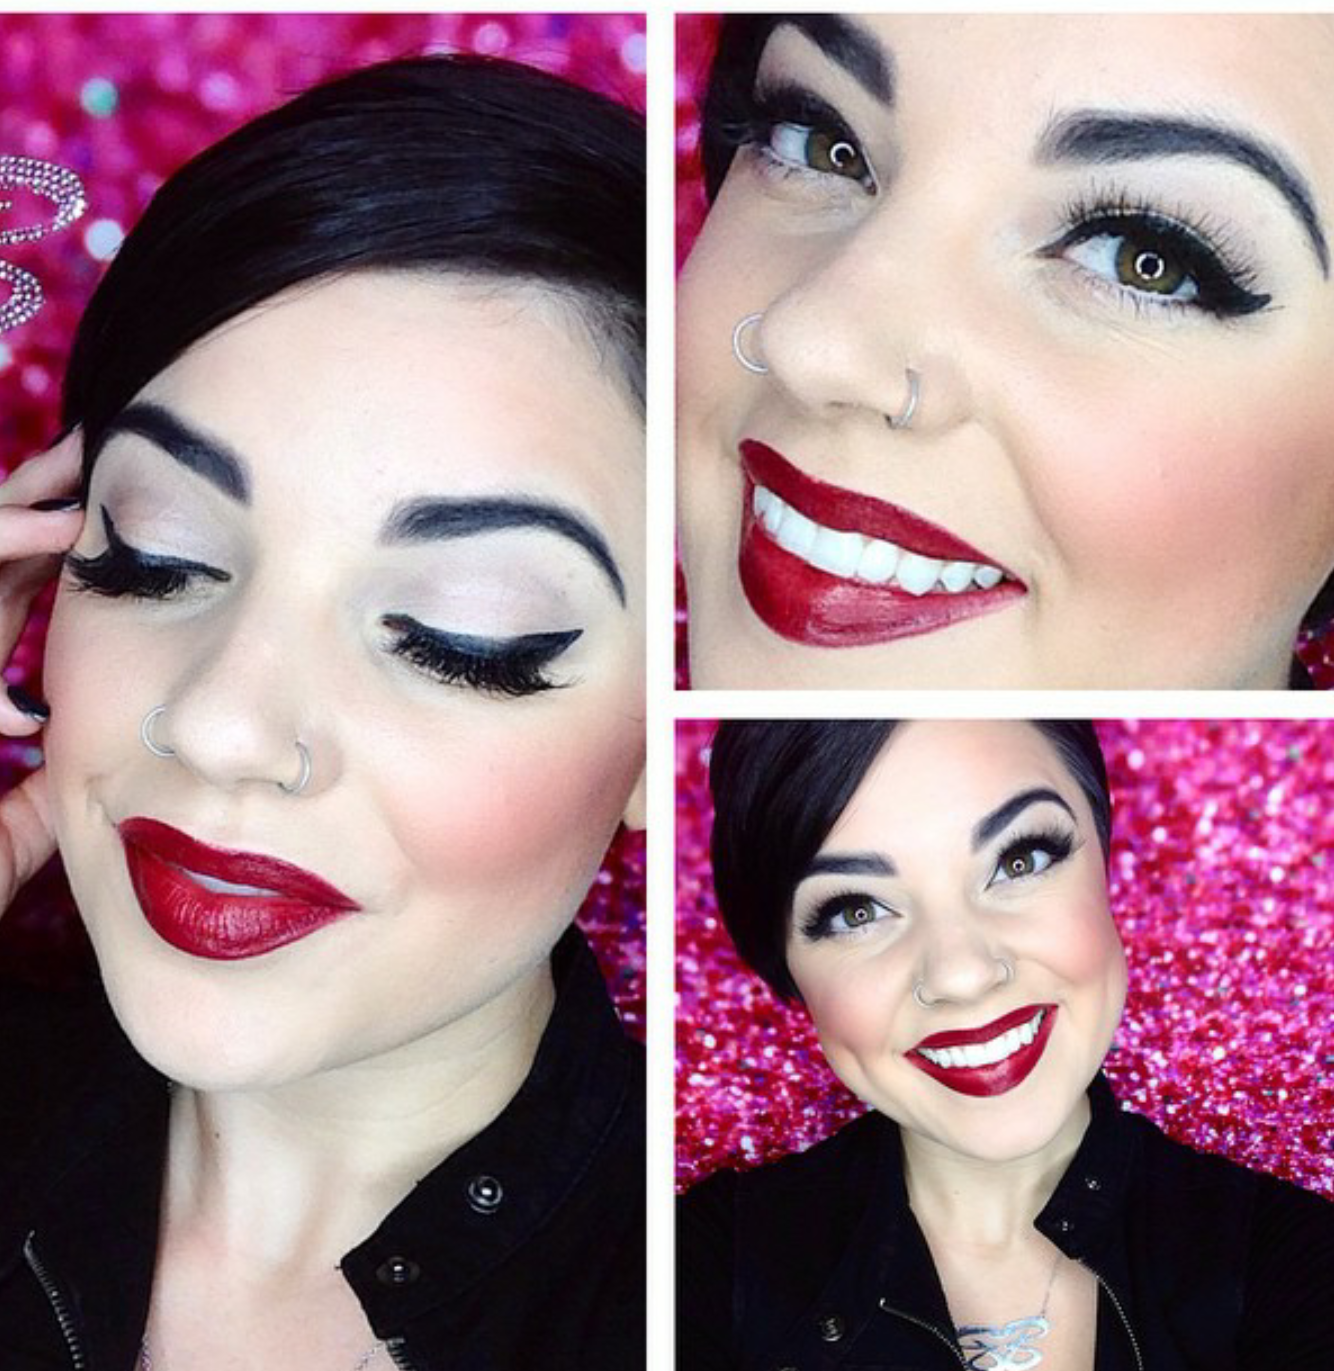
No matter how much mascara, those lash fibers, lash curlers that we all know can cut your lashes in half, 1 million different mascara wands, all this can get overwhelming to say the least. Your solution, that has been around for years, and every second they are coming out with the latest and greatest techniques is LASH EXTENSIONS!
lash extension 23423s

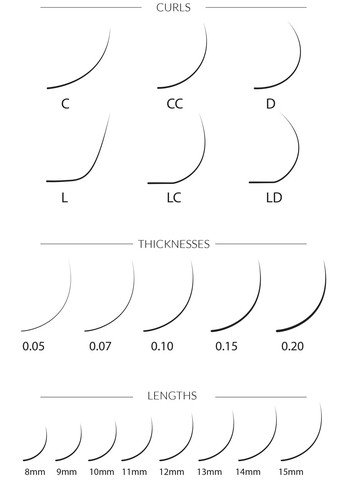
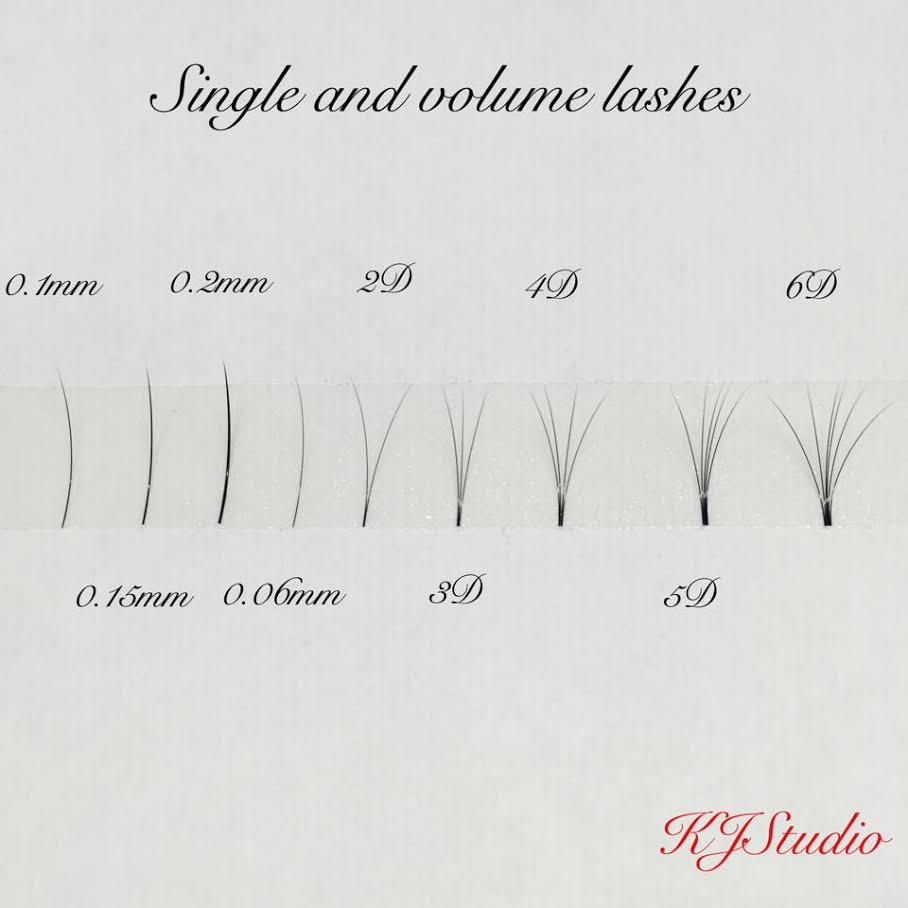
1. WHAT KIND OF LASH EXTENSIONS TO GET,

because there are many consisting of silk, diamond silk, mink, synthetic mink, human, human synthetic. AND if you want to get exciting we have colored, & glitter tipped!  Each “kind” has a different texture, a different weight. Which is very important when selecting what is going to be best for you. A CERTIFIED PRACTITIONER will know what works best, try out different styles to see what works for YOU the best! Lash extensions have different looks that comes with these shapes & sizes, thickness & textures. When consulting with us at your first appointment before we begin we will make sure, we give you what you want!
lash extensions sizesdifferent lashes

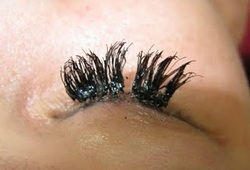
2. DO NOT CHEAP OUT, LET A PRO DO IT

which leads us to HIRE A CERTIFIED PROFESSIONAL! Remember when you seen that horrible status update from her lashes falling out, or glue attack on the lash line. This is because there was not enough training on INDIVIDUAL LASHES. Do not let others confused you when your getting your nails done, and the sign says $25 Lash Extension. There is a reason why. You don’t want Ebay lashes stuck to your eyelid!
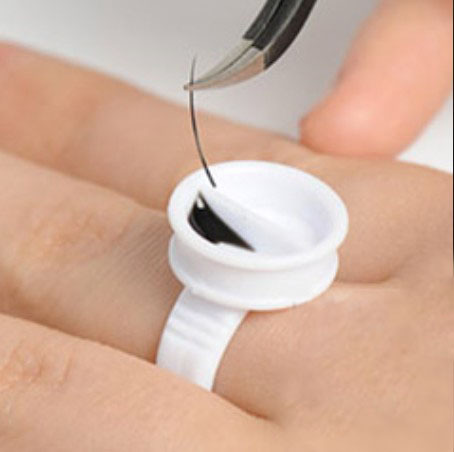
yikes 3bad lashes

3. GLUE ALERT!

One thing the most important things with lash extensions is the GLUE! Glue is very important to keep the longevity of the lashes on long & tight, Which means the glue is very potent. If you have any eye allergies PLEASE let your Lash Tech know prior to starting. We as trained techs know round about to help the eye settle if you have any allergies to chemicals. Also fill free to try a patch test before investing in lashes! Now, there is such thing as Sensitive Glue however, since its not as strong neither is the longevity of the lash life. So therefore with our ways, if you have eye sensitivity let us know, we can use different techniques to by pass!
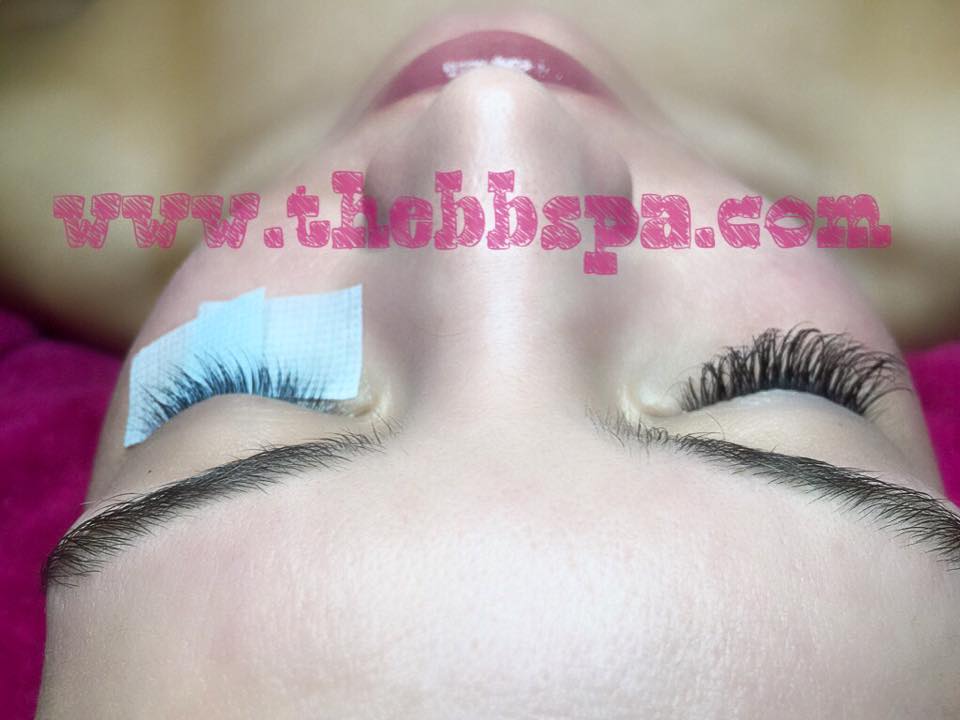
lash ex

4. TAPE…

Ohhhh we all love the tape part…not. The tape part is where we tape your lower lashes down so they do not get in the way, and stay clear of the glue! Some use pads, pads do not hold as well, therefore small bottom lashes can peep through the pad and get stuck to the upper lashes, and then be glued together. They can be easily pulled apart, but yeah, no. If you have any latex allergies, or adhesive allergy, please let us know.  We will use a sensitive tape. If you are allergic to the tape, the lower lash line as well as possibly upper will become puffy. But will reduce with the use of eye drops. Easy fix!
lash extensions 5

5. HOW LONG IS A TREATMENT

This all ranges on how experienced a tech is. It use to take me 2 hours to do a full set. Now I have expert-it to 1 hour for a full set. 30-45 minutes for a fill. Having the right equipment, the correct prep before each treatment, the correct training. It can be mastered!

6. AT HOME WITH LASHES

At home love matters to! Now that you have investing in long beautiful lashes, you need to keep them this way! REMEMBER my #1 rule after treatment: DO NOT Get them wet for at least 24 hours…to 48. The longer you wait while that glue processes the better. If you go get them wet they will NOT last! Also oil, NO NO NO, oil is in ALOT of at home products; skincare, remover, mascara. That doesnt mean you have to go without these items. We have BB Mascara “false lash” its called, BB Eye Makeup Remover & skin products that you CAN use. YES YES you CAN wear mascara! As long as its BB! BRUSH THEM, with a lash comb (giving to client at BB), it will keep them in place & nice looking!
brushing lash estensions

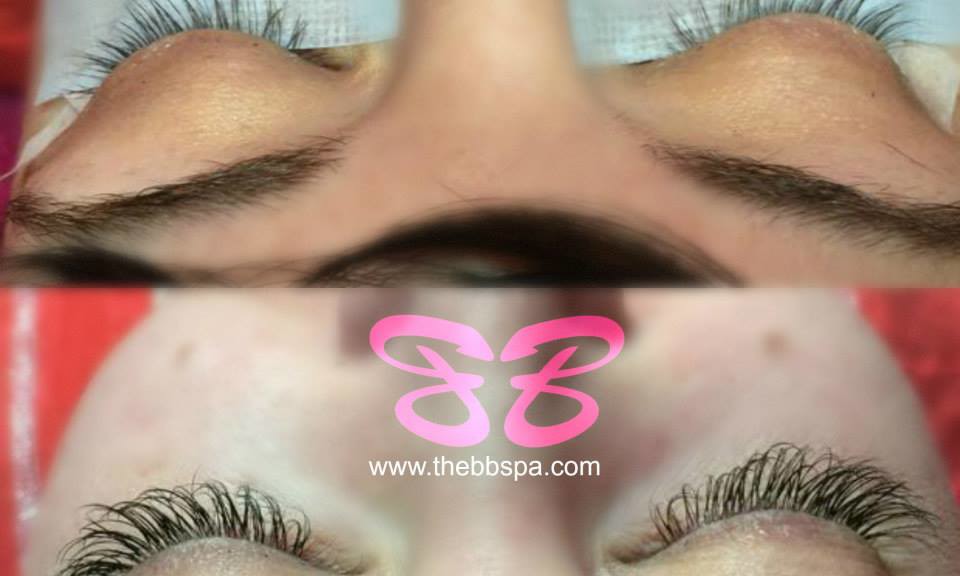
7. DON’T YOU WISH THEY LASTED 4-EVER

But they don’t. Our lash extensions glue lasts for 2 months, however, they are glued onto your real lashes. So, when your real lashes shed *you shed 3-5 real lashes daily) so will that lash extension/s as well. As you shed, a new baby lash is growing, so therefore you will want to get that “filled” with a new lash extensions to maintain the new fresh look! Fills happen typically at 3 weeks! And waaaaa-la brand new looking lashes!
lash hair

8. HOW WE CHARGE

We simply charge PER lash for the initial set. EVERYONE BODY is different, some have no so many eye lashes & some have a TON! Therefore we charge $2 a lash to start with a top out being that we dont charge beyond $300. We have those who have 50 lashes per eye and we have some 150-200 lashes per eye. So everyone differs. Once you have the initial set with us, our fills are $45 ever 3 weeks.

Ok, so you may ask; I have lash extensions already from a different salon but want to switch to using BB. So…sometimes we have to take off the old ones and start fresh OR if you have perfectly fine application then we will use the old set but still charge $2 to switch to us. With $45 fills every 3 weeks.

And then we have the occasion where clients wait super last minute to get “fills” (beyond 4 weeks)  and only come with less then half the lashes on… $2 a lash again… more work, more time, more product being used. So COME WHEN YOUR SUPPOSE TO!
lash extensions 55
Heres everything you need to know about lash extensions, I hope you learned a lot!
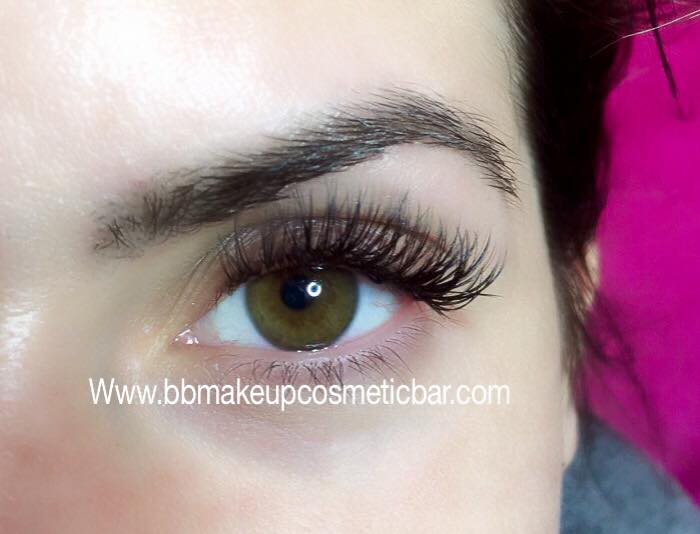
Get ready to be addicted! Book with us! :::  www.bbmakeupcosmeticbar.com

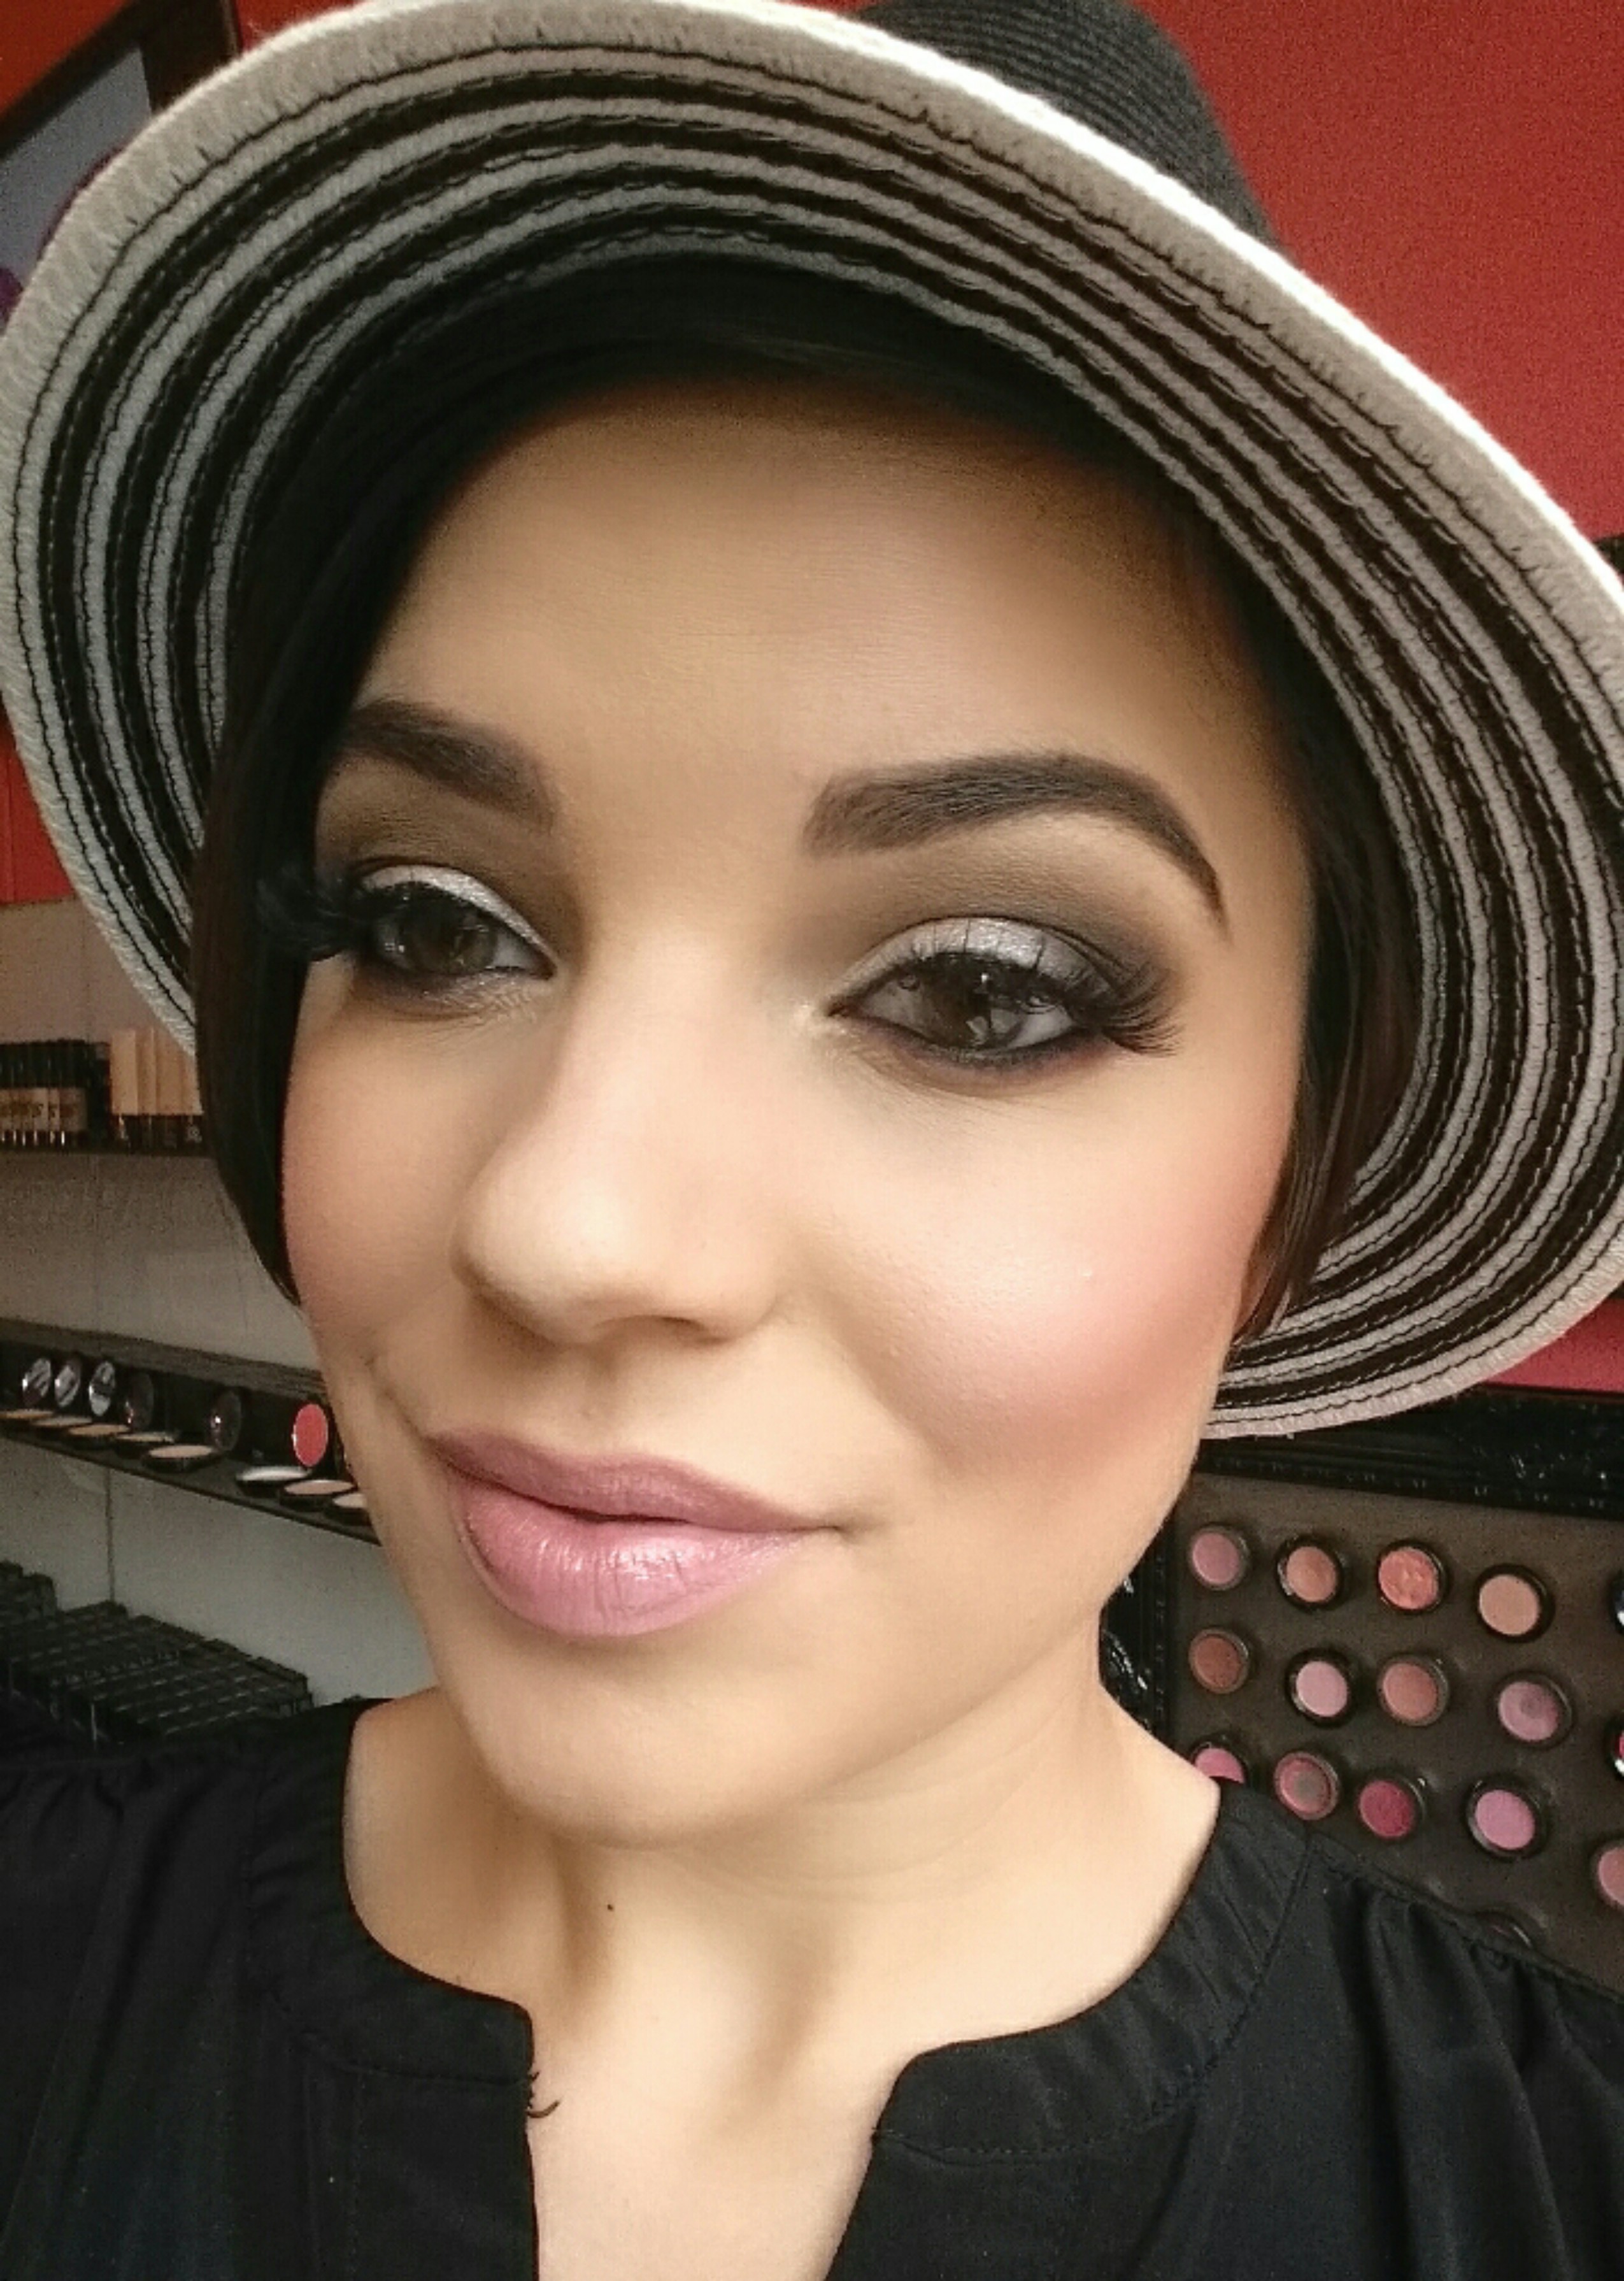
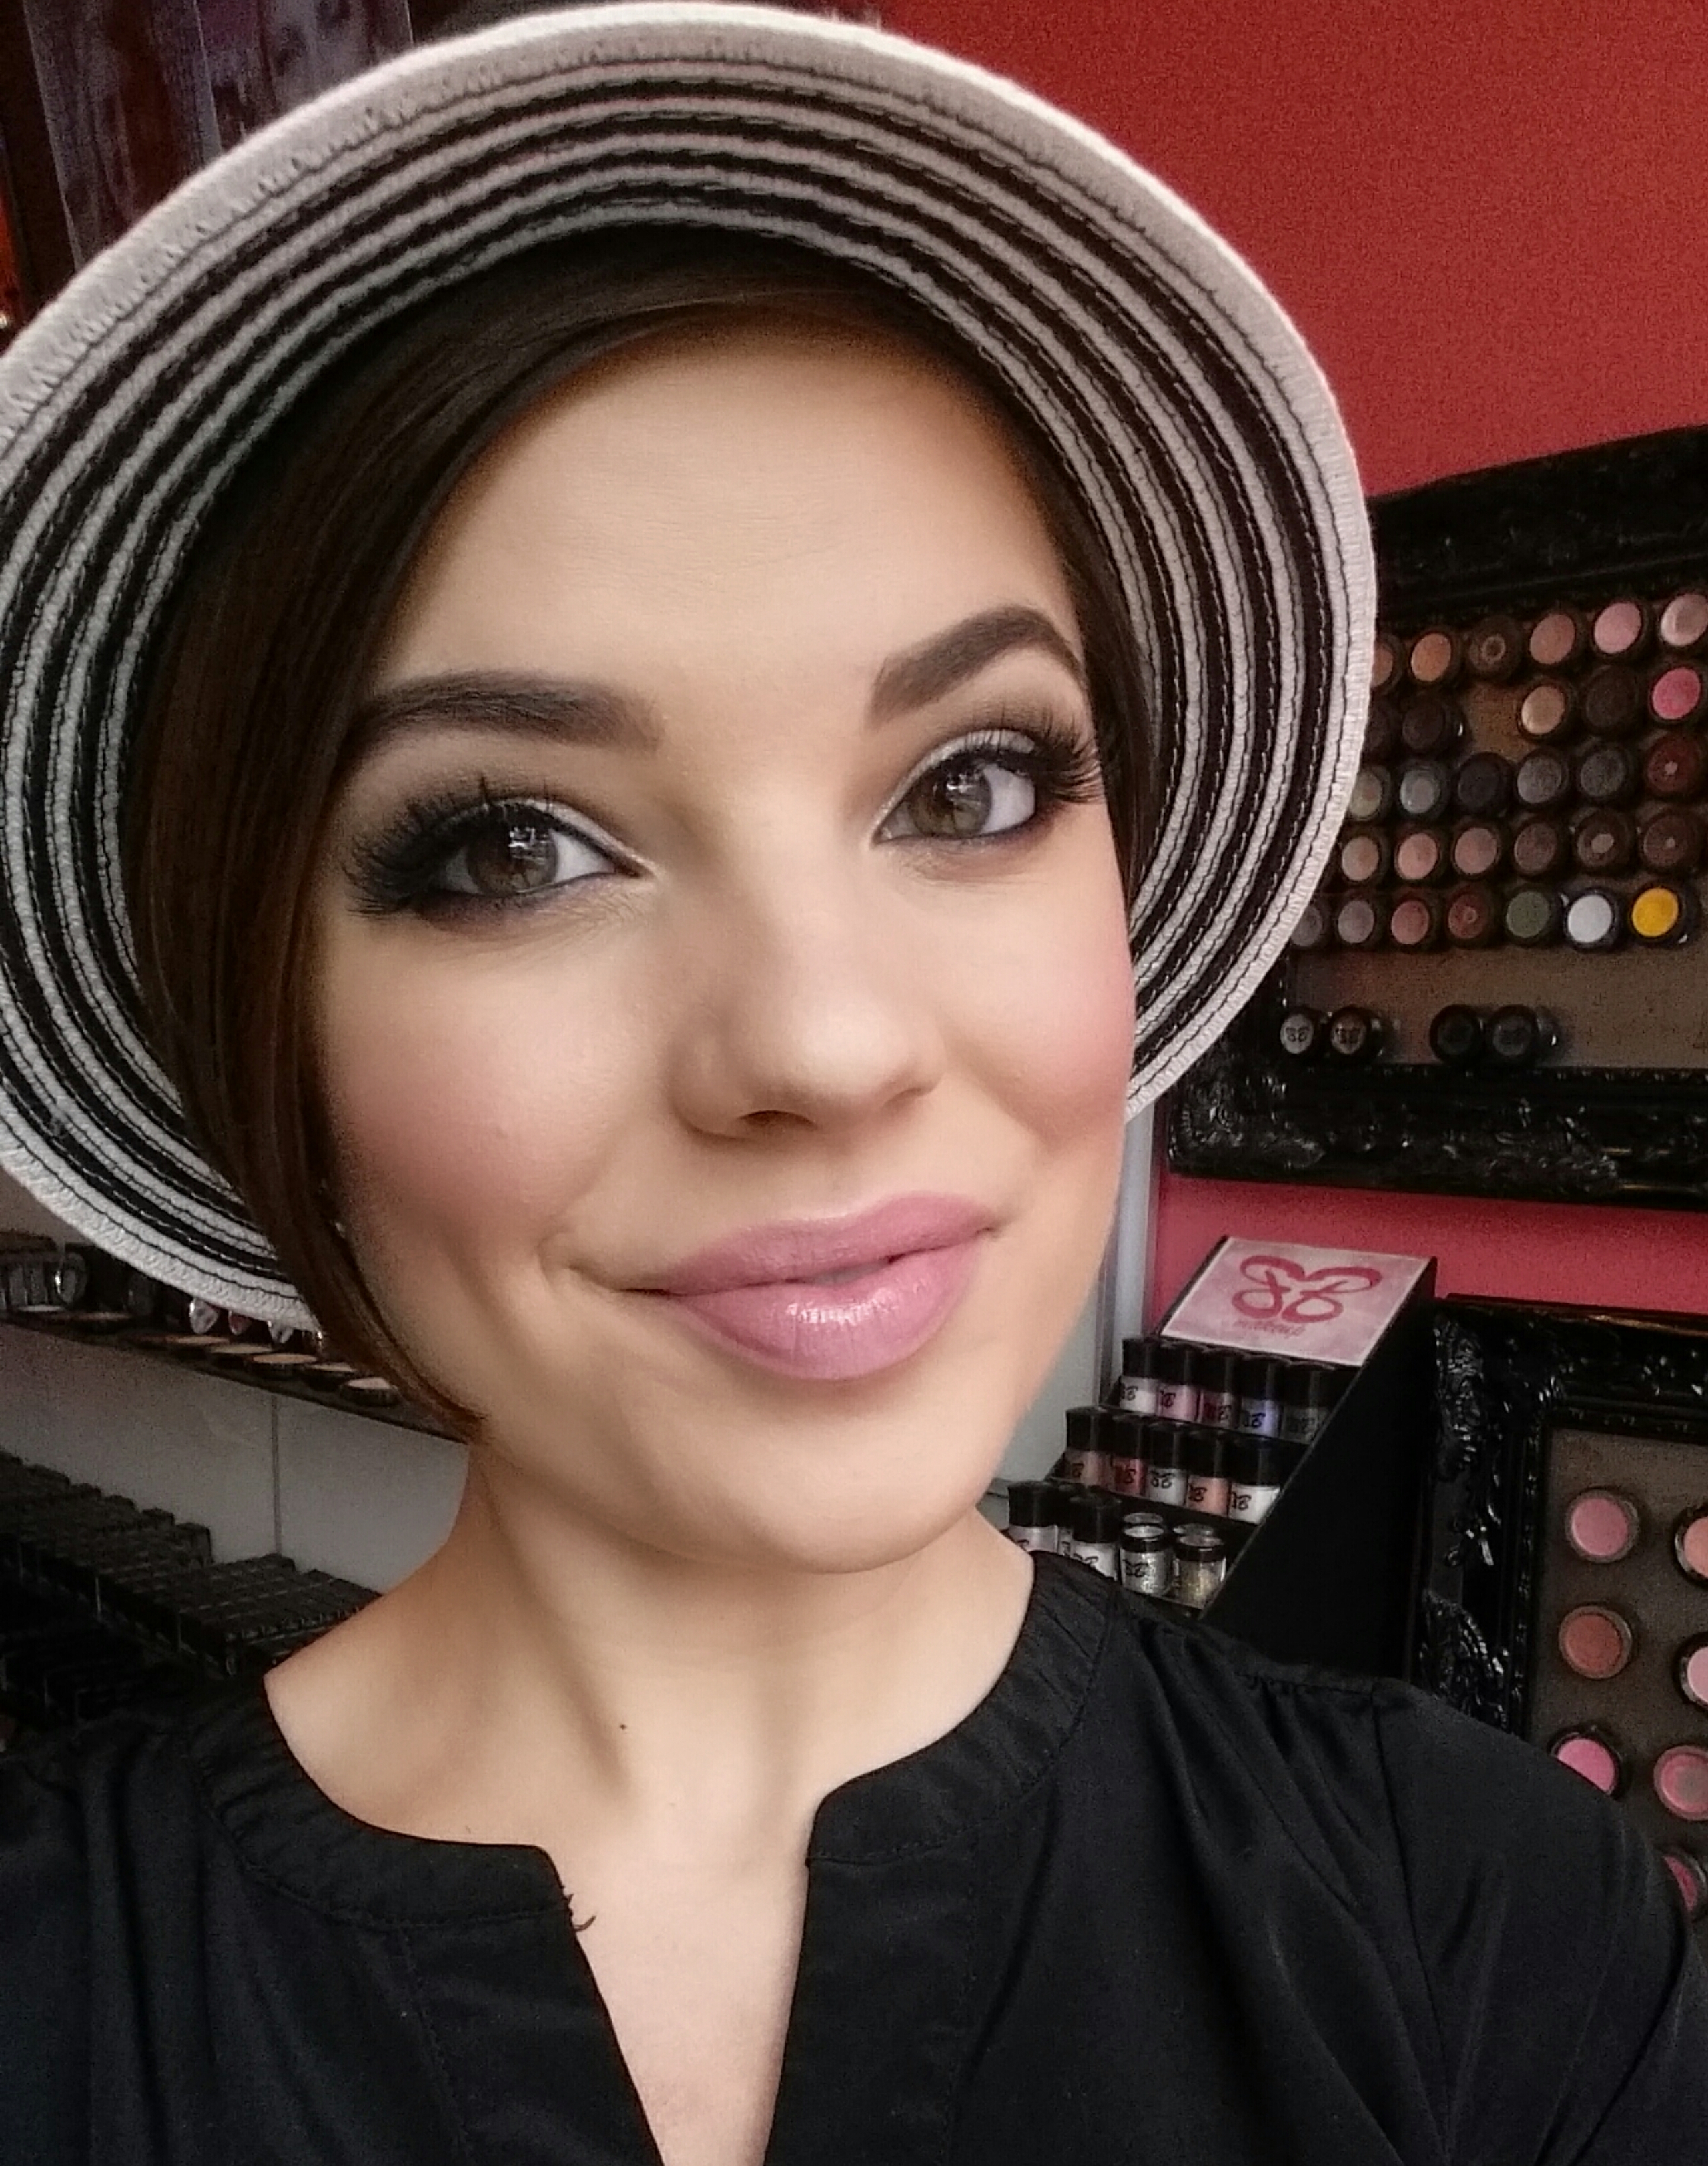
I’d love to be the one to do your lashes! -Brooke

AVAILABLE IN HUDSON (20 min east of st paul/ minneapolis) & Menomonie, WI (15 min from Eau Claire)

The Perfect Wedding Makeup

Here’s the makeup at your request! This detailed yet easy to do makeup is perfection! This look uses 3 beautiful must haves; Tea Shadow, Goth Shadow, Crushed Diamond Pigment. I did use the shadow base: Lid & Lip Primer to hold the color and pigment of the shadow to keep it bold and evenly blended. I used what we call the “card trick” to get the straight liner line which was actually made using the Goth and the traced by the Liquid Liner to get the perfect straight line. Of course her face is flawless using the HD Flawless Kit with AIrbrush Makeup over the top! Bronze Bake Bronzer, Doll Face Blush. We used TWO sets of lashes overlapping for ultra fullness and thickness. BAM BABY!

12289496_898548693532410_3620127166856683030_n
It looks super complicated however we have tricks to make it easy for you to achieve at home! Come in for a lesson, we will teach you!
www.bbmakeupcosmeticbar.com -to book us
www.bbmakeuponline.com – to shop us

Change it up!

PicsArt_1438984021359

Sometimes you just into the same routine when it comes to make up. Changing it up sounds like a daunting task. Not to mention there’s millions of ways to do it! One of my go to’s would be to switch up my liner. From adding a wing to doing a crazy pattern it’s all up to you! It’s a fun little way to add change! For this animal print look I used our bb kohl eyeliner in white for the base, outlined in onyx, and did the spots with onyx and glitter liner in gold. You can order these online at www.bbmakeuponline.com
PicsArt_1438891851678

Kim K – Inspired Makeup Lesson!

Miss Brooke was present in LA where Kim Kardashian’s Makeup Artist, Mario, gave a 4-hour long, live, makeup tutorial on Kim herself!!! Lucky for us, B brought back some amazing tips! She shared them in a live video feed on Periscope, but here is a post detailing what we learned. 🙂

Note: this is NOT a “natural” makeup look, what-so-ever. Kim wears an astonishing amount of makeup, enough in fact, that she pretend hugs & kisses so as to not smudge her makeup perfection. SO, that being said, if you enjoy looking literally like a porcelain doll (like we at BB enjoy), this is an excellent application process for you! If you prefer the “less-is-more” avenue, this probably isn’t the route to take.

Let’s get started!!

PhotoGrid_1438723170542

1. MOISTURIZE. After you’ve washed your face, use our BB Skin: Moisture 20 to give your skin a supple start. Make sure to always moisturize not only your face, but your neck & decollete as well!

2. PRIME. We use 1 pump of the Camera Ready Primer to smooth out the skin, & protect our pores from the massive amount of product we will soon apply. Warm the primer in your hands & massage into every crevice of the face!

3. HD FOUNDATION. Apply a full base-layer of Hi-Def Foundation (that matches your skin color) to the whole face, including the lips & eyelids. Use your Beauty Blender (damp) to apply the foundation. Use a pressing/patting motion, start with the under-eye area, & working around the face. This is also used as the “eye-primer”.

4. EYESHADOW.  Starting with the crease color, Titties, in this case – using a light hand, make a rainbow shape of eyeshadow just up under the brow bone, where the eyelid folds. Next, use S&M shadow in the outer corner. Still with a very light hand, apply this darker color in a C or V shape on the outer lid. (Helpful tips for this step: do not let the darker color go above the crease color, it’s designed to stay in the little pocket under where the eyelid folds. Also, start very light, then if you’d like it darker, add & blend slowly). Next, pack Heavens (or a highly shimmery shadow) onto the ball of the eyelid. We want this color to stay under the crease, & on the inner eyelid. Lastly, highlight the inner tear duct with BBtox #06.

5. EYELINER. Layers, layers, layers!! We used FOUR different eyeliners to create the perfect, long-lasting, black liner. Use Black Caviar gel pencil in the waterline first, from corner to corner. (Waterline is the wet part of your eyelid between your eyeball & your lash line). Use a tiny eyeliner brush to apply Black Caviar to upper lid lash line, & wing out the ends just a tinge. Use Black Tar pot eyeliner with the same small eyeliner brush next, brushing it right over top of the black caviar line on the upper lid. A couple layers of liquid liner comes now — use Onyx felt tipped liquid liner over the top of the Black Caviar & Black Tar, then use Tattoo brush tipped liquid liner over the top of those three as the final, perfecting step. Keep the upper lid liner nice & tight to the lash line, not Amy Winehouse style! Use the S&M shadow to smoke out the lower lash line, meaning: use a tiny brush to apply a small amount of eyeshadow just under the lower lash line from corner to corner.

 6. EYEBROWS. Pick an eyeshadow that matches your hair color. In my case, we used Tig. With a small angled brush, line the under-side of the brow with eyeshadow, then trace the top-side of the brow. Fill in the inner-most part of the brow with a shade lighter pencil, for me, Taupe brow pencil. Use the Pot Concealer to trace around the lines you just drew to make the brow more defined. Let the concealer be thick around the brow until the rest of the face is finished.

7. MASCARA. Use False Lash mascara on the upper & lower eyelashes. Then do another layer with the Jet Black waterproof mascara. Make sure to get your mascara all the way from the root of the lash to the tip.

8. LASHES. Kim uses individual lashes every day. This is a lengthy process when it comes to time! We suggest getting eyelash extensions, or using strip eyelashes. For this lesson, we used individuals toward the outer part of the lash line. Longer lashes on the outside, shorter toward in the inside.

–Clean up the under-eye area with a remover before finishing the face — Don’t leave any shadow or wet mascara under the eye! —

 9. CONCEALER. Use the Pot Concealer in a triangle shape under each eye. First, apply with a bigger sized concealer brush, & let it be THICK, then use your Beauty Blender to press concealer into skin. Next, use the Liquid Concealer over top of the pot concealer, & blend with Beauty Blender.

10. FOUNDATION. Use Cream Foundation (coming soon in singles form to BB!) with Beauty Blender all over the face, blending in the concealer around the eyebrows & under eye, as well as blending over ears & neck. Thick!!!

11. POWDER. Use the Dual Powder that matches your skin tone to set the foundations, all over. Apply with the beauty blender (should still be damp), & continue using a pressing motion so that the powder is set into the skin. Use the pressed Matte Your Face powder in the under eye area, then cake on the loose HD Mattifier over that.

12. CONTOUR. Using a Chisel brush, apply Gold Bake bronzer up under the cheek bone (just like how we shadowed under the brow bone to provide an illusion of depth). It should look like a line under the cheek bone. Apply the bronzer in a defined line following the jaw line as well. Pull the bronzer toward the neck from this jaw line. This gives a “lift” to the jaw. Next, use a stipple brush to blend the bronzer under the jaw & under the cheek bone, & apply along the hair line as well. This motion resembles an “E-3” shape around the face. Kim likes peachy colored blush, so we chose Foreplay. Use the stipple brush to apply this blush to the meaty “apple” of the cheek. Sweep away the loose powder that’s still in the under-eye area, then use your Beauty Blender to pack all that’s been added into the skin. Use the stipple brush to apply Powder Injection to the tops of the cheeks (above the bronzer line) to give a glowy highlight. If you find you like your nose to appear smaller, use the bronzer with a small brush to line the sides of the nose (the closer together the lines are, the skinnier the nose looks) from your eyebrows all the way under the tip of the nose. Use the pressed matte powder to blend in these lines.

13. LIPS. Use Raisin lipliner to define the cupid’s bow (middle of upper lip), the corners of the lips, as well as the middle of the lower lip. The lipliner resembles a heart shape in the middle of the lips. Apply Fluer lipstick to the entire lip area, then top it with Naked Gloss.

“TA-DAH”!!!! Just like that, we are fully made-up & looking like perfection. If not, go back thru & perfect the blending, the lines, the lashes, whatever needs touching up. 🙂

You will find that this makeup application is VERY long-lasting, VERY matte, & very heavy! I personally love that.

Buy any or all of the listed products HERE!

If you’d like to book this one-on-one lesson, Click HERE!

If you have any questions, please call!! 715-781-0248

LOVE, Jaimie @ BB Hudson. ♥

EYELINER.

Probably the most popular question I get when doing a makeup lesson is: “how do I make my eyes pop?“.. my answer is plain & simple: “Eyeliner, baby“!!!

There are sooooo many different ways to line our eyes, all of which help “pop” our eye color, but in such distinct forms! I love playing around with eyeliner, because let’s face it, there are no rules. 🙂

To accent each eye shape, there are appropriate liner techniques, but it’s super fun to find the one that best suits our personality! For me, I like ALL OF THEM. Pictured below are examples of different ways I chose to wear my eyeliner day to day! It all depends on my mood, truthfully.

Screenshot_2015-07-16-12-54-23-1

Screenshot_2015-07-16-12-54-16-1

Screenshot_2015-07-16-12-51-49-1

Screenshot_2015-07-16-12-51-43-1

Screenshot_2015-07-16-12-52-30-1

Screenshot_2015-07-16-12-52-55-1

Looking at these photos (collected from my instagram, FOLLOW ME here!), you may develop an opinion about which one suits me best. That’s perfectly normal! However, I can tell you your opinion about which eyeliner look works best for me is based off of your taste for liner. Your favorite liner style on me is probably the one you’d prefer for yourself. Cool, huh?

 Your eyeliner says a lot about you. So be brave!!!

If you’d like to come try different eyeliner looks, I’m totally here to help!

♥ JAIMIE, BB Hudson, 715.781.0248 ♥

LASHES?!

To do or not to do?

…… always ……

YES YES YES YES!!!!

WITHOUT FALSIES: attention is drawn to the fold of the eyelid. The camera also has a hard time capturing natural eyelashes, with or without mascara.

 PhotoGrid_1436473312138

PhotoGrid_1436473274291

WITH FALSIES: attention is drawn to the actual eye, not the lid! Yay!!! This makes eyes “pop”, whether the false lashes are super natural looking, or big & fun (like the ones pictured here)!!

WE LOVE EYELASHES!!!

There are tons of options for strip eyelashes. You can have short, long, full, wispy, super natural, totally outrageous, colorful, etc.. so fun!

We also offer EYELASH EXTENSIONS!!! (pictured at the top of the page). These babies are perfect for those who prefer to not even bother with mascara & lashes in the morning.  You literally wake up with a perfect fan of lashes. They are semi-permanent! This means they last as long as your natural lash cycle lasts (around 4 weeks), you just get them filled as your natural lashes shed & new ones pop thru!! Eyelash extensions can be offered in tons of different customized options as well. Whatever your desired lash is, you can have it!!

BOOK HERE!!

♥ JAIMIE @ BB Hudson 715.781.0248 ♥

Smokey Eye!

“I’d like a ‘Smokey Eye’…”

The phrase “Smokey Eye” gets tossed around in soooo many different ways! I have learned, from experience only, that there are levels of smokey-ness, & it takes an open mind to find the perfect one for each individual person! Here’s MY smokey eye:

PhotoGrid_1433883721292

On me, I like some shimmery colors in my smokey shades, & I like it to stay a little lighter on the lid than in the outer corner. This is preference, not a rule! No, I don’t do exactly this color scheme on everyone, each time I’m asked to perform a “smokey eye”!

Eye shadow can be smoked out & sexy in tons of different color schemes, themes, shades, etc. Say you want the scheme I used: “Cool Tones”, & “Greys” would be excellent terms to use in describing the one you want for yourself! If you don’t like using blue-based colors, use browns: “Warm Tones”, “Earthy”, “Bronzes” would be great descriptive terms! You could also go for plums, or red-based colors as well. OPTIONS!

Friends…. BLEND!!!! The easiest way to make sure your shadows are blended smoothly is to check your tools! We use fluffy, chubby shadow brushes for smokey eyes. The more bristles, the better.. none of the tiny/precise brushes are necessary to achieve this look! Even on the bottom lid, we can smoke out our eyeliner with a chubby shadow brush. Spend time making sure your shadows are blended well, it shouldn’t look like you’re wearing a few different colors, it should “flow”– Dark along the lash-line & in the outer corner, medium in the crease, light on the brow!

Another tip: be very careful how high you place dark shadow above your crease! I’d say the biggest downfall I see when it comes to smokey eyes, is the darkest outer corner color coming up too high on to the brow bone… this is when it starts looking like “too much”.  We use a “Crease color” or a medium tone (as far as color depth goes) of your color scheme to blend our dark shadows into the light brow bone shadow! It looks just as sexy & sassy this way, without that darkest color over-bearing the upper lid! 🙂

Start with a light application of the shadows, & if you want to make it darker, add more! It is so easy to add more, not quite as easy to remove. Soft smokey eyes are just as cool looking as bold ones!

PhotoGrid_1433883623854

PRODUCTS USED: BUY HERE!

Eyes: Metal pigment in crease, Chardonnay on brow bone, Chain Link on lid, Goth in outer corner & smoked in lower liner, for shadows! Black Caviar eyeliner, #415 lashes, Brunette brow pencil.

Face: HD Flawless Face, Bronze Bake bronzer, BB Light blush.

Lips: Brookie Special Lipstick, Be Nude gloss.

If you’d like a personal lesson on this look in particular, come see me! BOOK NOW!

♥ Jaimie, BB Hudson 715.781.0248 ♥

Brow Extensions

Brow extensions are the new craze! Like….very very new!
How it works:
Baby baby single hairs are attached to the skin or peach fuzz hair. Attached with surgical grade skin glue. With “fills” happening every 2-3 weeks. Since the glue is exposed to your skins oils, sweat, and every day environment, the durability is much shorter then say lash extensions. So you have to make sure you properly take care of them! NO OILS, NO SCRUBBING of the skin, DO NOT GET THEM SET FOR 24-48 hours after procedure.
article-2480957-191AC94A00000578-313_634x414
picture by Lash Perfect

This above is a close up of how the hairs are applied. Its painless, and you can hardly feel anything.

11107176_826473807406566_2100687668975385656_n
This gal we completely re-shaped her brows adding arch and volume! Opening her eyes up more, giving her an automatic “eye lift” look!

11109215_822894517764495_4203375693366724723_n
This brow extensions is very very natural, she didn’t want much, but just enough to “fill in the gaps” so that is what we did! Whoo hoo for brow extensions!
11248153_820077704712843_8509438925454788451_n
Now here we drew her brows in with the BB Taupe brow pencil to get a good outline before filling them in with hair creating a thick full brow with amazing arch!

If you would like to learn more follow us on facebook!
Brooke Beauty Guru Fleetwood also does training for those salons wanting to learn about these and offer them!
Get yours done today! www.thebbspa.com to BOOK ONLINE

FOLLOW US

Facebook: www.facebook.com/bbmakeup
www.facebook.com/brookebeautypro
Insta: @bbmakeupcosmetics
@barbieglitterprincess
SnapChat: bb.beautyguru
Twitter: https: //twitter.com/BB_dollz
https://twitter.com/BBMakeupBar
Youtube: https://www.youtube.com/user/brookefleetwood

The Classic “BB” Look!

Our Signature Look @ BB!!!

This is an excellent go-to look for many occasions, the most popular– Bridal! ♥

I’d call it: “sultry smokey”.. We’re talkin’ slightly sassy eyes, with a lighter lip. Smoke out the lower eyeliner with a dark shadow, but use very little liner on the upper lid.. I usually only tight-line (use eyeliner in the waterline) on the top! This keeps the eyes looking defined without shadowing them too much!

Excellent for PHOTOS!!!

PhotoGrid_1433440063049

Products Used: BUY HERE!

Eyes — Fairy Dust Pigment on the lid, Sugar Daddy in the outer corner, Tea in the crease, Chardonnay on the brow bone, Black Caviar eyeliner (smoked out), Brunette brow pencil, #43 lashes

Face — HD Flawless Face kit, Bronze Bake bronzer, BB Light blush

Lips — French Kiss lipstick, Buzzed gloss

To play this look up a bit, add some glitter to the lid or lower liner, & add a slightly darker lip color. To soften this look, go very easy on the product use! It looks hot either way.

To book an appointment with me for a LESSON on this look, or any other you’d like to try… Click Here!

 JAIMIE @ BB Hudson, 715.781.0248 ♥